How To Apply Self-Adhesive Metal Labels
Follow these easy instructions to get the best results with your labels.
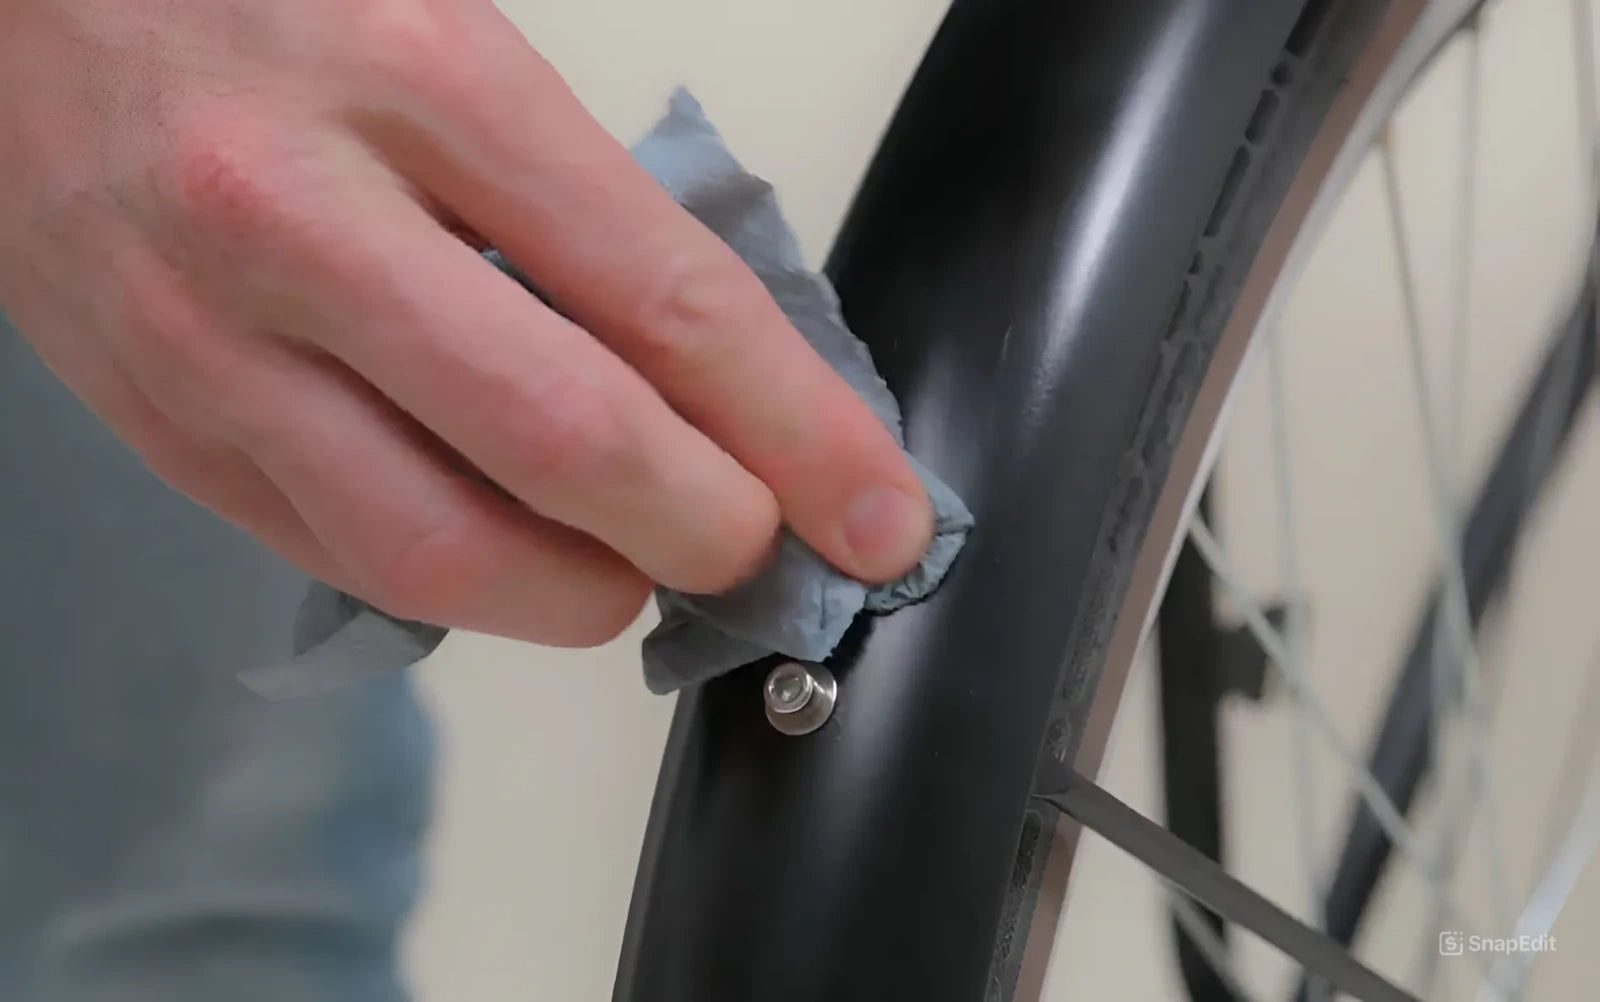
Prepare The Surface
Clean the area where the sticker will be applied.
Ensure it’s :
• Free of dust
• Free of grease or moisture
• Smooth and completely dry
Pro tip: A clean surface = stronger bond
Ensure Room Temperature
Make sure the environment is between 18-25°C.
Avoid extremes:
• Too cold (e.g., jars just out of the fridge)
• Too hot (e.g., post-sterilized surfaces)
Let cold items warm to room temperature before applying.

Remove The Backing
Carefully peel off the backing paper.
• Hold the sticker by its edges
• Avoid touching the adhesive side to maintain its stickiness!

Position The Sticker
Place the sticker gently onto the surface.
• Slight repositioning is okay
• The label cannot be repositioned once applied, as removing it may cause damage

Press & Smooth Out
Application should be done by pressing from one side to the other, not from the center.
• Smooth out air bubbles
• Use fingers or a soft cloth
This ensures maximum contact and long-lasting stick.

With proper prep and care, your Schildinc metal label will stay put and look amazing for years to come.

